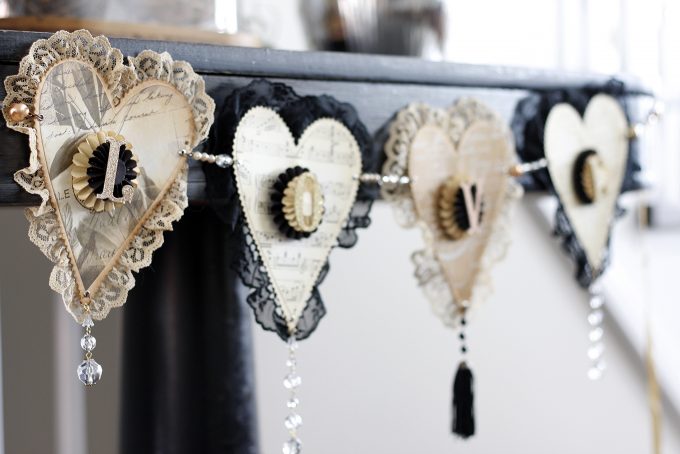
Many years ago, I went on a crafting weekend retreat with a few of my girlfriends. Have you ever just crafted for 2 days straight? It was such a wonderful treat to be able to chit chat with my girlfriends and craft till the wee hours of the morning. With a box full of supplies — little treasures, papers and trims — I made this banner spelling out L-O-V-E. I hang it up on Valentine’s day or for everyday inspiration in my studio.
Materials & Tools
• Various card stock
• Lace and trims
• Pre-made glittered letters
• Beads from costume jewelry
• Tassels
• Small grommets
• Scissors
• Pinking shears
• Glue stick
• Hot glue sticks and gun
• Hole punch
The following instructions are for one individual heart. Repeat steps for each letter of the word ‘LOVE’.
Step 1
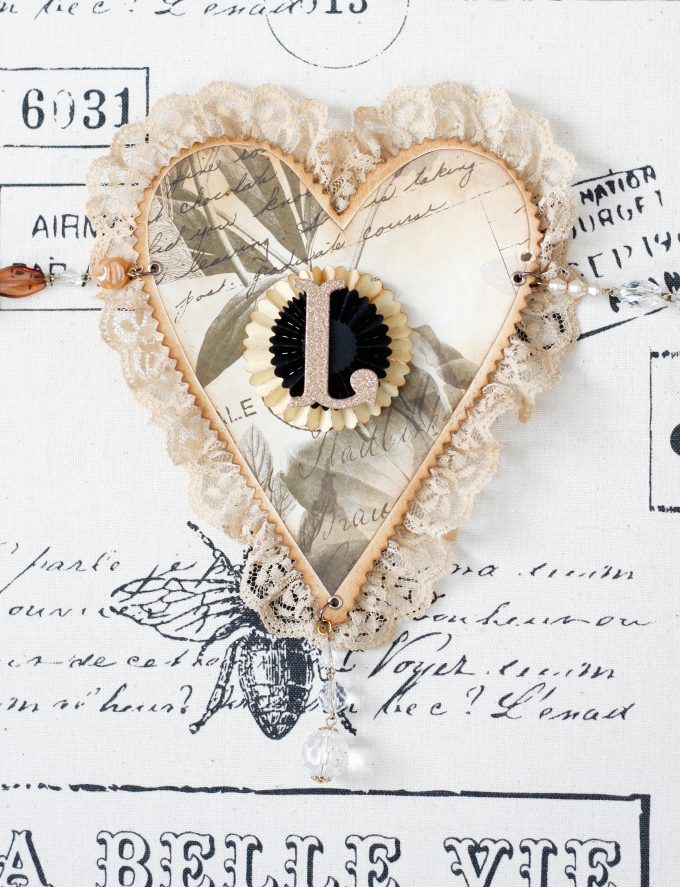
Cut a heart shape out of card stock with pinking shears. Cut another heart shape out of patterned paper and glue stick it on top of the heart shape with zig zag edges.
Step 2
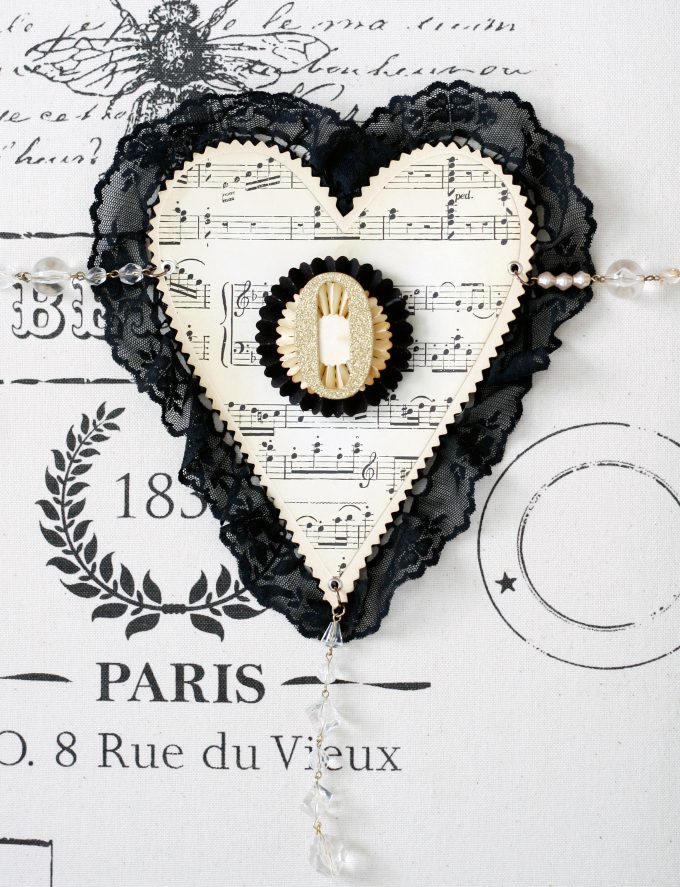
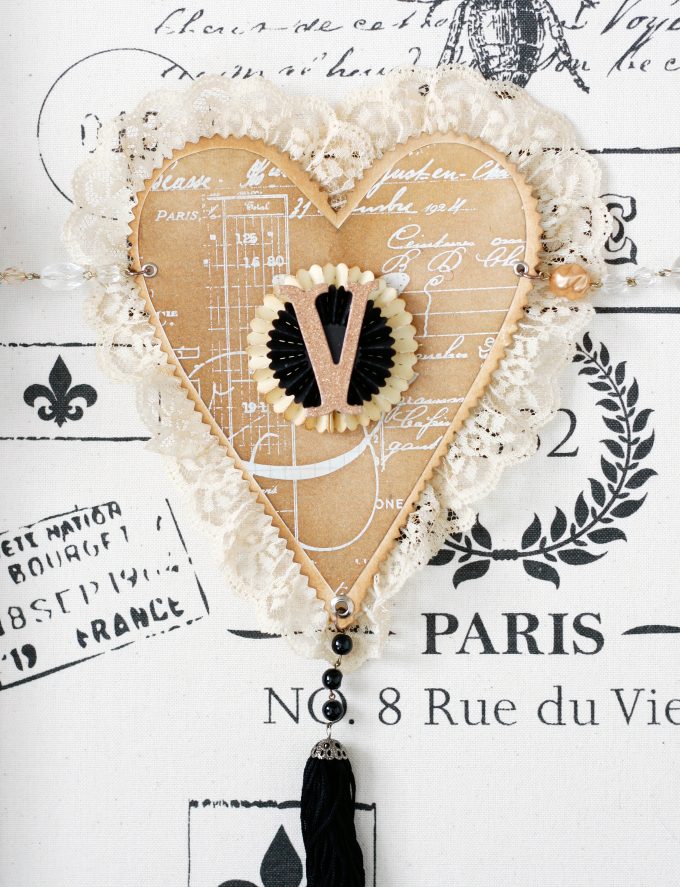
Use hot glue to attach lace trim to the backside and outside edge of the zig zag heart.
Step 3
With the hole punch, create small holes: 2 on either side and 1 hole at the bottom of the heart. From costume jewelry, create strands of beads to use as string to connect all heart letters together. Also, create a strand of beads with or without a tassel for the bottom decoration.
Step 4
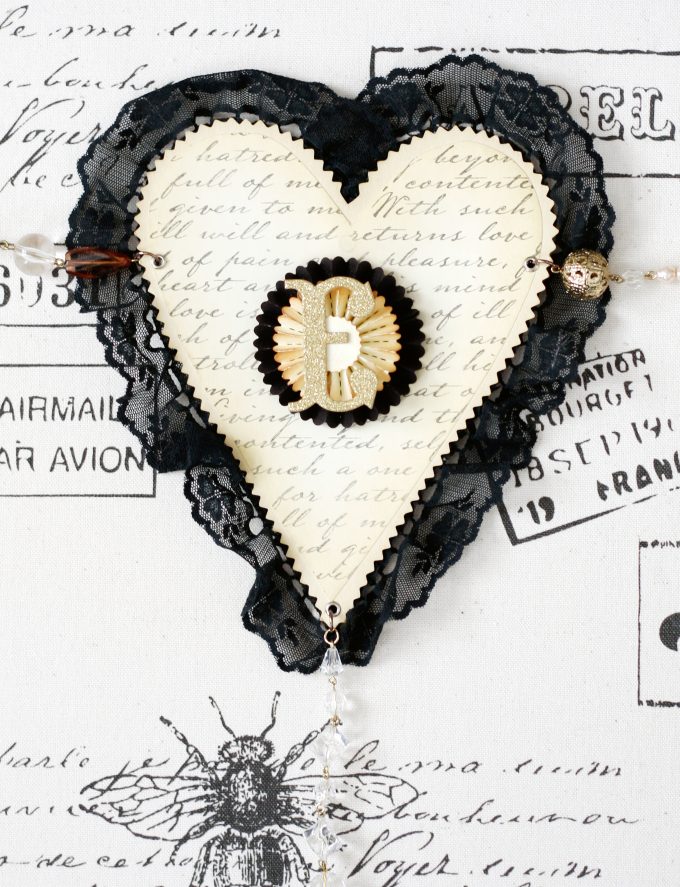
With the hole punch, create three small holes: 2 on either side and 1 hole at the bottom of the heart. With costume jewelry, create strands of beads to use as string to connect all heart letters together. Also, create a strand of beads with or without a tassel for the bottom decoration.
Step 5
Attach the glitter letter ‘L’ to the middle of the heart. For added dimension, you may also attach the letters onto small paper medallions.


